Carve a Try-Stick to Master Your Knife
Carve a try-stick to learn every bushcraft knife cut: the seven notches, the grips that keep your hands safe and how to practise them in one evening.
Watch a video tip
Video tipA related video tip that shows the technique in motion. It won't match this guide step for step — use it for the hand positions and timing, and follow the 6 steps below for the actual build.
Quick facts
What a try-stick actually is
A try-stick is a single length of green or seasoned wood carved with a sequence of standard bushcraft cuts - notches, a spoon-style scoop, feather sticks, a point - so you can practise every basic knife technique on one piece of wood instead of ruining separate projects while you learn. It's a training tool, not a finished item.
Why carve one before anything else
Most knife injuries in beginners happen because they jump straight to a project - a spoon, a tent peg, a bow drill set - and improvise technique under pressure to get it finished. A try-stick removes that pressure entirely; there's no "finished" to rush toward, so you can stop, reset your grip, and repeat a cut until it's clean.
Knife safety before you start
Always cut away from your body and away from your other hand, with your elbow braced against your knee or torso for control on harder cuts. Keep your fingers behind the cutting edge at all times, not just out of the way of the blade's current position but out of the way of where it will travel if it slips. Work sitting down with clear space around you, and never carve toward your palm or wrist. A sharp knife is safer than a dull one because it needs less force and is more predictable - a blade that skates off wood under heavy pressure is how most cuts happen.
Carving the sequence
- 01
Cut a stop notch first. Score a shallow notch across the stick with two angled cuts meeting in a V; this is the foundation cut behind almost every other bushcraft notch and teaches controlled, repeatable blade angle.
- 02
Carve a pencil point at one end. Rotate the stick against the blade in slow, shallow passes to bring it to a smooth taper - this teaches control on a moving workpiece rather than a fixed one.
- 03
Cut a series of feather sticks along one face. Peel thin curls of wood that stay attached at the base, working from the far end toward your bracing hand, which builds the fine motor control needed for fire-lighting curls later.
- 04
Carve a shallow concave scoop. Use the tip of the blade in short controlled strokes to hollow a spoon-like dip, which teaches the tip control needed for detail work.
- 05
Cut a saddle notch and a crown notch further along the stick. These build on the stop notch and are the shapes used in shelter-building and trap components.
- 06
Finish with a chisel-tip cut at the far end. A straight, flat-faced cut across the grain rounds out the set of standard cuts you'll reuse in almost every other carving task.
Why practising this way works
Repetition on a low-stakes piece of wood builds muscle memory for blade angle, grip pressure and body positioning without the frustration of ruining something you wanted to keep. Once these cuts are automatic, tackling an actual project - a tent peg, a trap trigger, a feather stick for fire - becomes far faster and safer because the technique no longer needs conscious thought.
Common mistakes
Carving toward your own hand or leg "just this once" for a fiddly cut is the most common route to injury - reposition the stick instead. Using too small a knife or one with a very short blade for cuts like the concave scoop makes control harder, not easier. Rushing the feather-stick section because it looks decorative rather than functional skips the exact skill you'll need most urgently when lighting a fire in poor conditions - see one-match fire in wet weather for where that skill gets used.
Load limits worth knowing
A try-stick, like any camp knife or the notches you cut with one, is a woodcraft and fire-prep tool. Never use knife-cut notches, carved pegs or any camp-knife joinery as load-bearing points for climbing, hauling weight, or lifting a person - they aren't rated for it and failure under load can happen with no warning. Keep this distinction in mind when your carving skills carry over into shelter-building or rigging with five knots worth knowing.
Gear you need for this hack
Everything below does the job in this guide. Improvise where you can — buy where it matters.
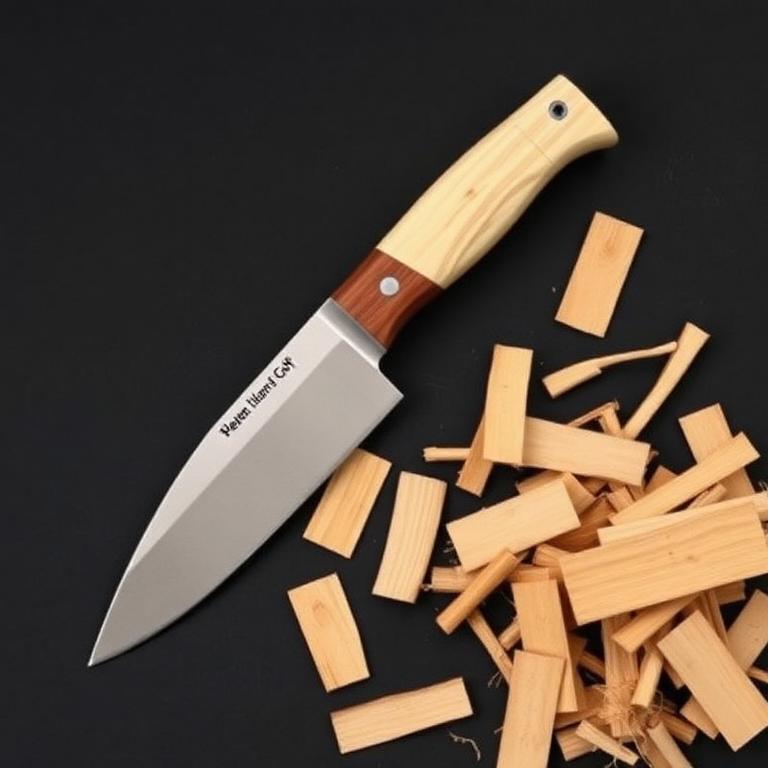
Morakniv Wood Carving 120
Morakniv
Short laminated blade made for controlled cuts.
Short laminated blade made for controlled carving cuts and try-sticks.
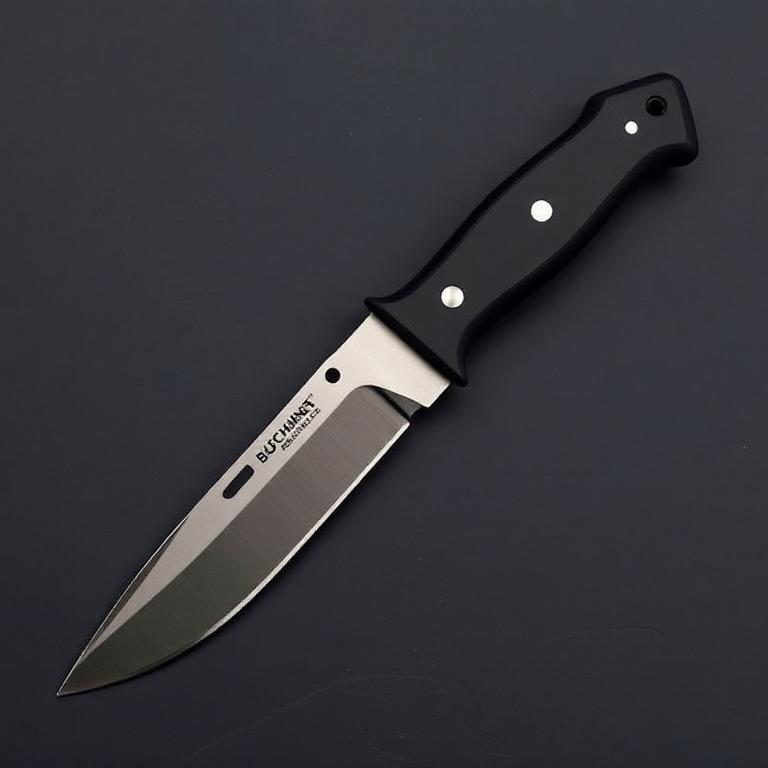
Morakniv Companion Heavy Duty
Morakniv
The all-round bushcraft knife to learn on.
The default bushcraft knife: Scandi grind, carbon steel, honest price. Check your local knife laws.
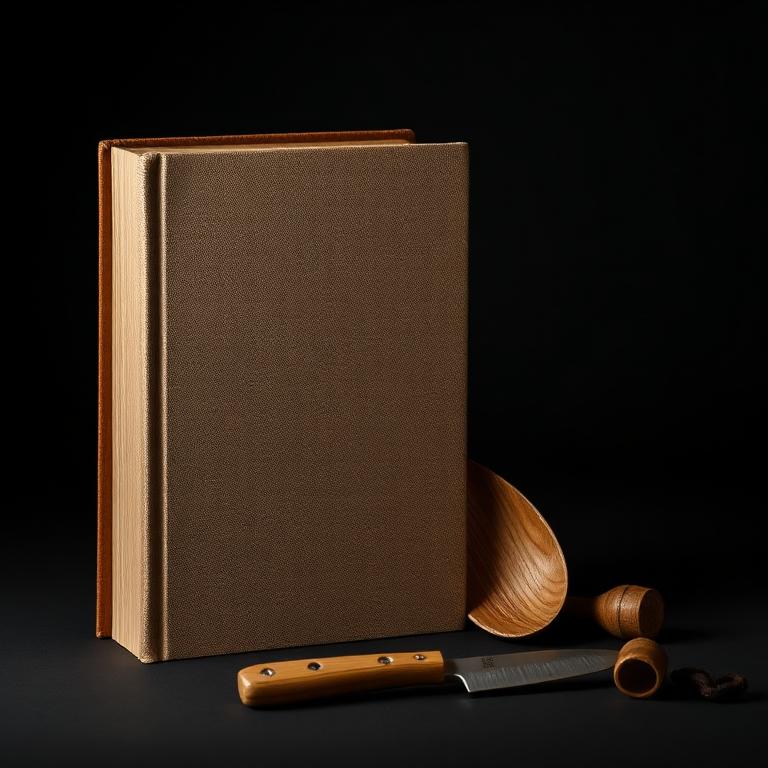
Bushcraft 101
Dave Canterbury
The skills behind the cuts.
The 5 Cs framework and the skills behind them. The best single starting book.
Some links are affiliate links: if you buy through them we earn a small commission at no extra cost to you. We don't run product tests, and a commission never decides what a guide recommends.
Rate this hack
Be the first to rate this hack
Share your experience
Have you tried this hack? Share your experience, results, tips or suggestions with other readers.
Community experiences
Loading…