The Emergency Debris Hut
How to build an emergency debris hut: sizing the frame, how thick the leaf litter must be, and why insulation under you matters more than the roof.
How it works, step by step
Find or place a ridgepole slightly
Find or place a ridgepole slightly longer than your body. Rest one end on a stump, low branch or forked stick roughly hip height, with the other end on the ground, so it slopes.
Quick facts
What problem this solves
A debris hut is a shelter you build entirely from what's lying on the ground, and it insulates through dead air trapped in a thick pile of dry material rather than through a windproof shell. Done properly it can keep a person noticeably warmer overnight than an open bivvy in cold, dry woodland conditions, with no tools beyond what you're carrying.
When it's the right choice
This suits an unplanned overnight in woodland where you have time before dark, dry leaf litter or bracken in real quantity, and no tarp or tent. It is a poor choice if you're already wet, if the ground is waterlogged, or if you only have an hour of daylight left - it genuinely takes that long to gather enough debris to matter.
Building the frame and shell
- 01
Find or place a ridgepole slightly longer than your body. Rest one end on a stump, low branch or forked stick roughly hip height, with the other end on the ground, so it slopes.
- 02
Lean ribbing branches along both sides of the ridgepole. Space them close enough that the debris piled on top won't fall straight through the gaps.
- 03
Lattice thinner sticks across the ribbing. This crosshatch stops the big pile of leaves from sliding off the frame during the night.
- 04
Pile on dry leaf litter, bracken or grass until it's roughly arm's-length thick. This is the step people underestimate most - a thin layer of leaves insulates almost nothing; you need a mass you'd struggle to compress with your fist.
- 05
Build up an equally thick layer of dry material to lie on, inside the shelter. Ground contact draws heat away far faster than air does, so the insulation under your body matters as much as the roof over it.
- 06
Block the low entrance with a loose armful of debris once you're inside. This traps your own body heat in the small air space rather than letting it vent out the opening.
Why it works
Dry, loosely packed material traps thousands of tiny pockets of still air, and still air is a poor conductor of heat - that's the entire mechanism, the same principle behind a sleeping bag's loft. Compress the material and you crush the air pockets, which is why "thick" matters more than "thorough coverage." The insulation below you matters more than most people expect because the ground conducts heat away from a body far more effectively than still air does, so a debris hut with a thin bed and a thick roof still leaves you cold.
Common mistakes
Building the shelter too large is the most common failure - a debris hut is meant to be a tight cocoon just big enough for your body, because a bigger air space takes longer to warm with body heat and takes far more material to insulate to the same standard. Skimping on the ground layer while focusing effort on the roof is the second. Using damp or green material instead of dry leaf litter is the third; wet material conducts heat away and won't trap the air pockets that make this work at all.
Safety limits and what it can't do
A debris hut is a last-resort improvised shelter, not a substitute for planned camping gear, and it offers no protection against sustained heavy rain the way a properly pitched tarp does - see five tarp shelter configurations for a wet-weather alternative. It also does nothing for hypothermia if you're already wet or exhausted before you start building; get dry and start moving to generate heat first if that's the immediate risk. Building one takes real physical effort and enough daylight, so it should be a planned fallback within a get-home bag strategy, not something you attempt for the first time in a genuine emergency.
Sources and further reading
- ready.gov, general preparedness: https://www.ready.gov/
- Met Office, weather warnings and advice: https://www.metoffice.gov.uk/weather/warnings-and-advice
Gear you need for this hack
Everything below does the job in this guide. Improvise where you can — buy where it matters.
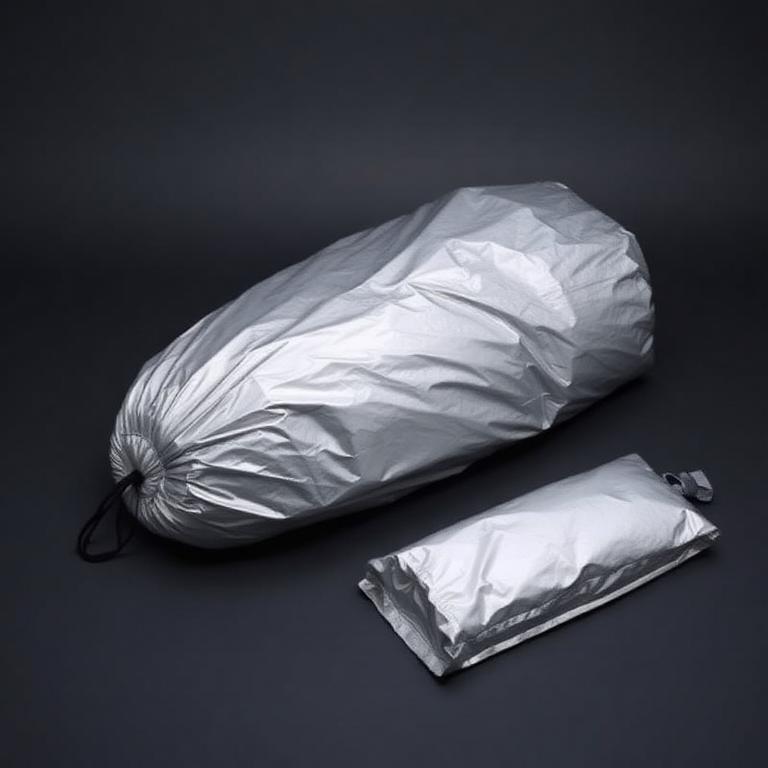
Reflective Emergency Bivvy
SOL
200g of insurance if the hut is not enough.
200g of insurance in the debris hut, the car and the day pack.
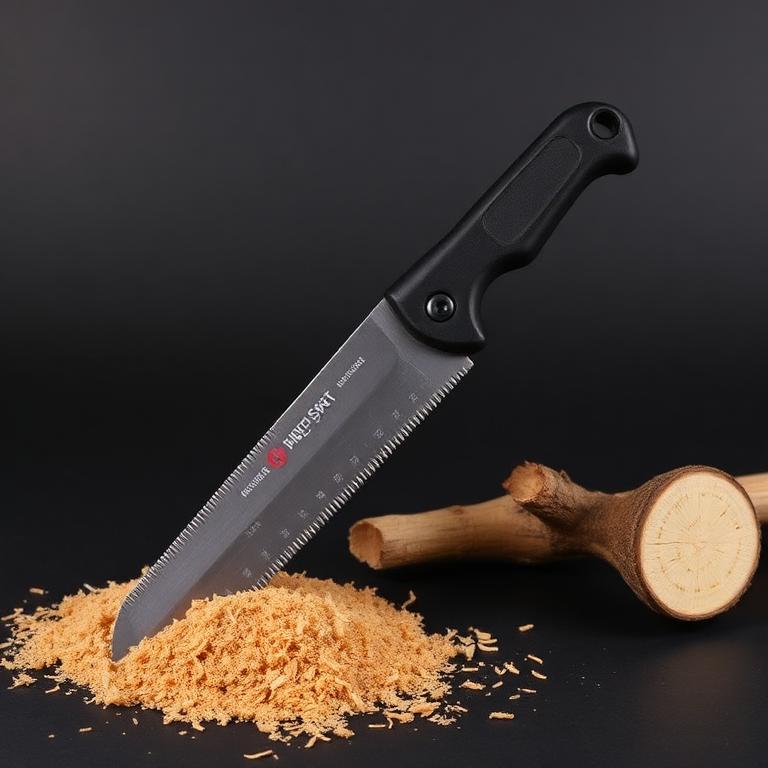
Silky PocketBoy Folding Saw
Silky
Cuts the ridgepole and ribbing quickly.
Cuts firewood faster and safer than batoning. Pairs with any fixed-blade knife.
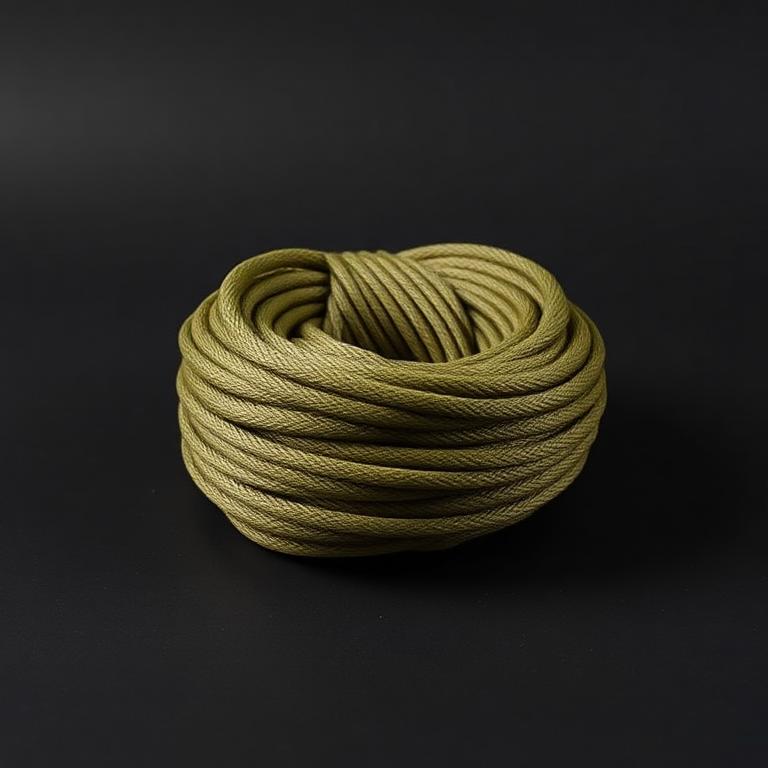
550 Paracord, 30m
Lashes the frame together.
Ridgelines, guylines, lashings and repairs. Buy real 7-strand cord.
Some links are affiliate links: if you buy through them we earn a small commission at no extra cost to you. We don't run product tests, and a commission never decides what a guide recommends.
Rate this hack
Be the first to rate this hack
Share your experience
Have you tried this hack? Share your experience, results, tips or suggestions with other readers.
Community experiences
Loading…