Fat-Sealed Meat and Pemmican Basics
How to make pemmican and fat-sealed meat: drying meat properly, rendering tallow, the correct ratio, and the hygiene rules that keep it shelf-stable.
How it works, step by step
Trim the meat completely lean
Trim the meat completely lean. Any fat left in the meat itself goes rancid far faster than the meat dries, and rancid fat is what ruins pemmican's shelf life — this step matters more than people expect.
Two techniques, two different risk profiles
Fat-sealing dried meat and making pemmican are genuine historical preservation methods, and they still work on the same principles today — but modern tested food safety knowledge, especially around botulism, means some historical shortcuts are worth knowing about rather than repeating. This article separates what's well-supported modern practice from what was historical improvisation done without today's understanding of the risks.
Quick facts
The core method
- 01
Trim the meat completely lean. Any fat left in the meat itself goes rancid far faster than the meat dries, and rancid fat is what ruins pemmican's shelf life — this step matters more than people expect.
- 02
Slice thin and dry at a controlled low temperature until brittle. Around 60-70°C (140-160°F) with good airflow, until the meat snaps rather than bends, is the tested range for reliably driving off enough moisture to inhibit bacterial growth. A dehydrator with a thermostat is far more reliable here than an open fire, where temperature swings wildly.
- 03
Render the fat separately and fully. Slowly melt fat trimmings and strain out all solids — any meat particles left in the rendered tallow will spoil and take the whole batch with them.
- 04
Pound the dried meat into fine shreds or powder. Smaller pieces mix more evenly with the fat and the finished pemmican holds together better.
- 05
Mix hot, fully rendered fat into the shredded meat at roughly equal parts by weight. Work it through evenly while the fat is still liquid so it coats every piece rather than pooling.
- 06
Press into a dense block and cool completely before sealing. Removing air pockets as you press matters — trapped air holds moisture and is where spoilage starts first.
Where botulism actually comes in
Botulism risk in meat preservation comes almost entirely from low-oxygen, low-temperature, undercooked conditions — vacuum-sealed or heavily fat-sealed raw or under-dried meat stored at room temperature is the genuinely dangerous combination, because it's exactly the environment Clostridium botulinum spores need to produce toxin. Properly dried meat, with moisture driven out thoroughly before fat-sealing, is far lower risk because there isn't enough water activity left to support that growth. This is the single most important safety line in this whole process: dry the meat properly first, don't try to skip drying by relying on the fat seal alone.
Rancidity is the other real threat
Even when botulism risk is well controlled, rancid fat is what actually ends up spoiling most home-made pemmican. Fat that isn't fully rendered and strained, or that's exposed to air, light or warmth during storage, goes rancid within weeks to a few months rather than lasting the many months well-made pemmican can achieve. Store finished pemmican somewhere cool, dark and airtight, and treat any off, sour or "crayon-like" smell as spoiled, not just unpleasant.
Historical improvisation versus modern practice
Historical accounts describe drying meat over open fires and smoke with no thermometer, and mixing in dried fruit or berries for flavour and nutrition — reasonable at the time, but without temperature control there's no reliable way to know moisture was driven low enough to be safe by modern standards. If you're doing this for real storage rather than as a skills exercise, controlled drying temperatures and fully rendered fat aren't optional extras, they're the difference between traditional food and a genuine food-safety risk.
Common mistakes
Leaving any fat on the meat before drying, which goes rancid and taints the batch early. Under-drying meat because it "looks dry enough" rather than checking it snaps cleanly. And storing the finished block somewhere warm, which accelerates rancidity regardless of how well the meat was dried.
If you're building a longer-term food storage plan, the bucket root cellar covers the vegetable side, and general planning fits well alongside 72-hour emergency plan.
Sources and further reading
USDA/NIFA food preservation guidance (https://www.nifa.usda.gov/), US CDC food safety and botulism information (https://www.cdc.gov/healthywater/emergency/making-water-safe.html), ready.gov food storage guidance (https://www.ready.gov/).
Gear you need for this hack
Everything below does the job in this guide. Improvise where you can — buy where it matters.
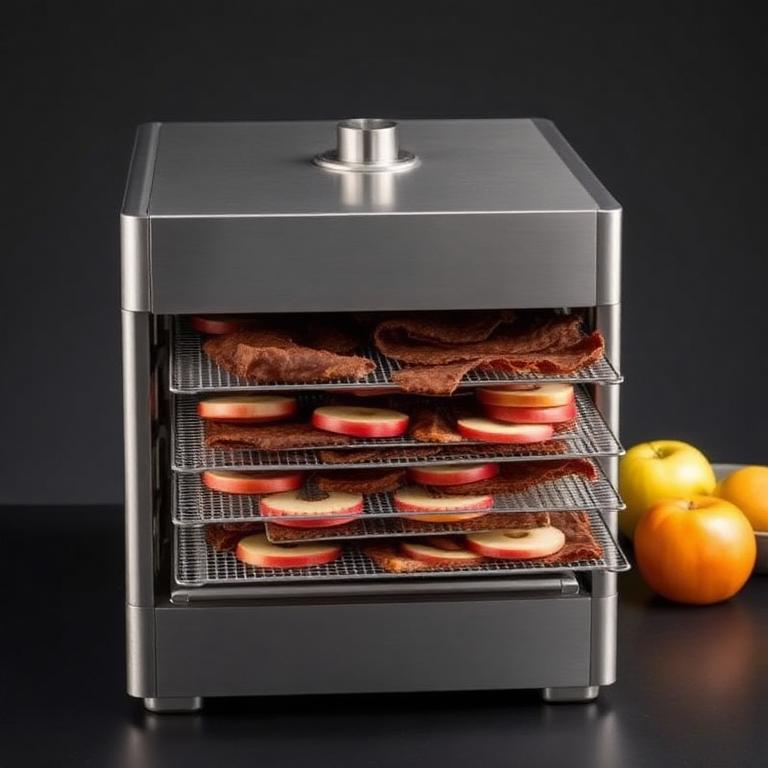
Food Dehydrator with Timer
Consistent low heat is what makes this safe.
Consistent low heat is what makes jerky and pemmican safe rather than risky.
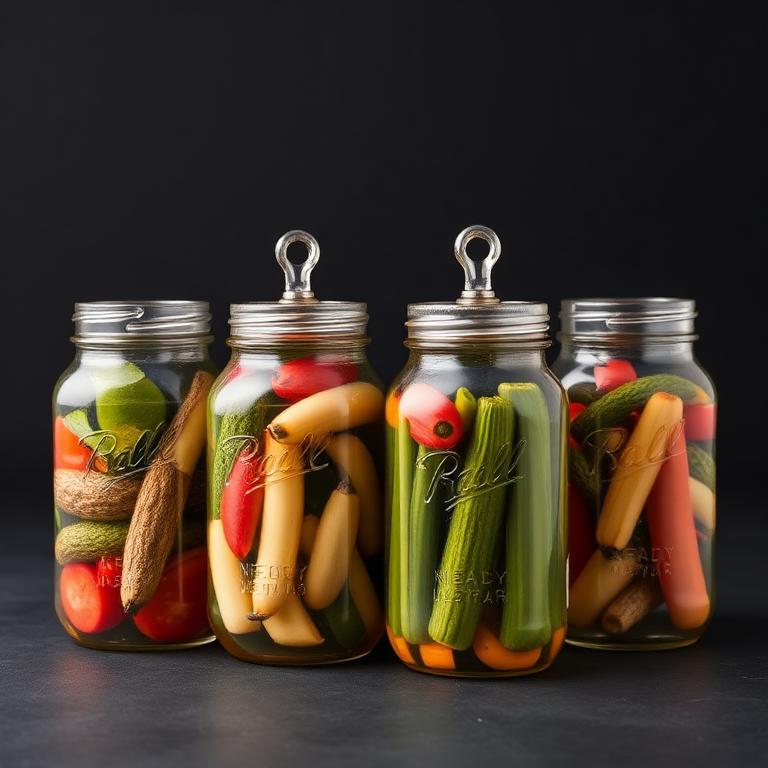
Mason Jars with Fermentation Lids
Seal the fat over the meat.
For pickling, fermenting and keeping fats sealed over preserved meat.
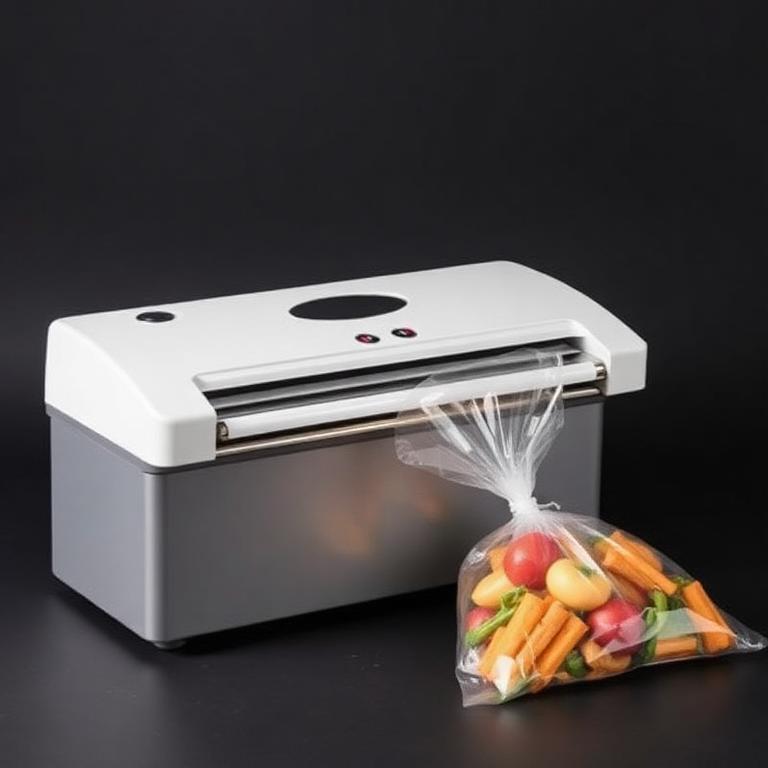
Vacuum Sealer with Bags
Removes the oxygen that spoils it.
Removes the oxygen that spoils dried and smoked food. Doubles shelf life easily.
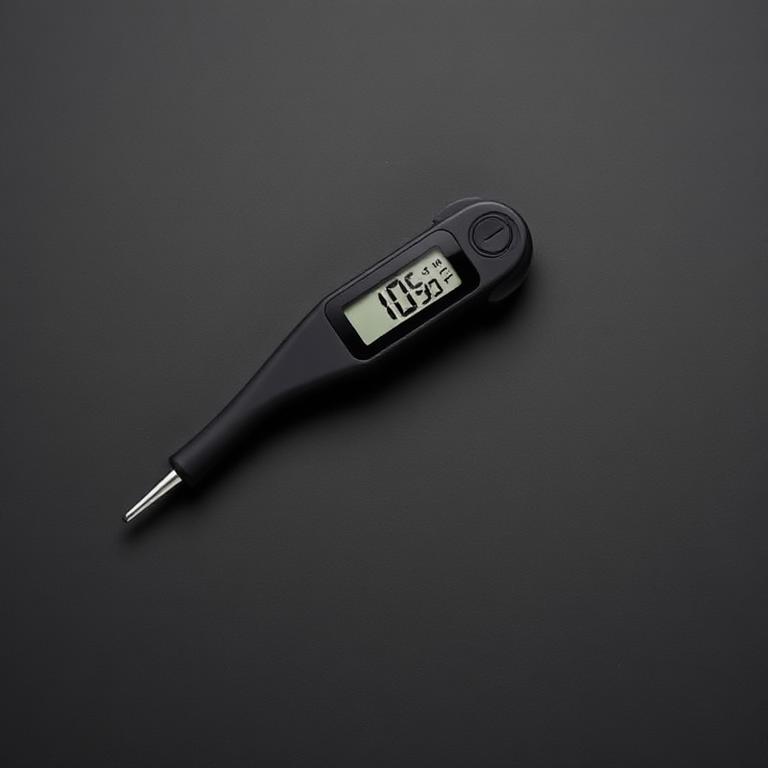
Instant-Read Thermometer
Do not guess rendering temperatures.
Preserving without a thermometer is guessing. Guessing is how people get ill.
Some links are affiliate links: if you buy through them we earn a small commission at no extra cost to you. We don't run product tests, and a commission never decides what a guide recommends.
Rate this hack
Be the first to rate this hack
Share your experience
Have you tried this hack? Share your experience, results, tips or suggestions with other readers.
Community experiences
Loading…