
Build a Composting Toilet That Does Not Smell
How to build a composting toilet that does not smell: urine diversion, the right carbon cover material, ventilation and a safe composting cycle.
Watch a video tip
Video tipA related video tip that shows the technique in motion. It won't match this guide step for step — use it for the hand positions and timing, and follow the 6 steps below for the actual build.
Why a composting toilet doesn't have to smell
Smell from a composting toilet almost always comes from one thing: urine and faeces mixing and going anaerobic. Keep them apart, keep the pile aerobic, and cover every deposit with a dry carbon material, and the smell problem mostly disappears. This is a genuine off-grid solution for cabins, allotments and long-term camps without mains drainage, not a gimmick.
This is the right choice when you have no connection to a sewer or septic system, when you want to cut household water use, or when you're setting up a static camp for weeks at a time. It is the wrong choice for short trips, rented properties without the landlord's agreement, or anywhere with strict local wastewater rules that a dry toilet won't satisfy.
Quick facts
Building and running the system
- 01
Choose a urine-diverting design. Separating liquid from solid waste at the point of use is the single biggest factor in odour control, since urine mixed with faeces is what produces the ammonia smell. A simple diverter insert over a front bucket and a rear bucket does this cheaply.
- 02
Fit ventilation before you fit anything else. Run a vent pipe from the solids chamber up and out above roof height, ideally with a small fan or a solar-powered vent fan to keep air moving one way, out of the chamber and away from the building.
- 03
Cover every solid deposit immediately. A cup or two of dry sawdust, coco coir or shredded leaves after each use starves the anaerobic bacteria of the moisture and nitrogen balance they need to smell, and keeps flies away.
- 04
Empty buckets on a routine, not when they're full to the brim. Swap and empty solids every few days depending on household size, and move the material to a dedicated finishing bin outdoors, never straight onto growing beds.
- 05
Manage urine separately. Diluted roughly 1:8 with water it can go straight onto ornamental beds away from edible crops and water sources; undiluted it is too strong and can burn plants and smell strongly if left standing.
- 06
Let the finishing pile mature for the full recommended period. Humanure needs an extended, undisturbed composting period, generally well over a year, before it's safe to consider using anywhere near food-growing soil, and even then only for non-edible or ornamental use in most home setups.
Why it works
Composting relies on aerobic bacteria that need oxygen, a reasonable carbon-to-nitrogen ratio, and enough dryness to avoid going anaerobic. Urine diversion removes most of the excess moisture and nitrogen that would otherwise tip the balance into the smelly, slow, anaerobic process. Ventilation keeps oxygen available and pulls any residual odour up and away rather than back into the room.
Pathogens, handling limits and the law
Human faeces can carry pathogens including bacteria, viruses and parasites that survive for a long time in cool, damp compost. This is the part people skip, and it's the part that actually matters for health. Always wear gloves when handling buckets or finished material, wash hands thoroughly afterwards, and never handle it if you have any open cuts. Finished humanure should be treated as a soil conditioner for trees, shrubs or ornamental beds, not as fertiliser for anything you intend to eat raw, and many public health guidelines advise against using it on edible crops in a home setup at all, because achieving reliably safe, sustained high temperatures in a small backyard pile is difficult to guarantee.
Before you build anything, check your local building and health regulations. Many areas require composting toilets to meet a specific standard, have permits for greywater and blackwater handling, or restrict how and where you can dispose of humanure. Rules vary hugely by country and even by county, and ignoring them can mean a forced removal or a fine, quite apart from the health risk of getting it wrong.
Common mistakes
Skipping the carbon cover is the most common failure, followed closely by not diverting urine at all and letting buckets fill until they're an unpleasant, heavy job to move. Another frequent error is using fresh sawdust from treated or painted wood, which can introduce chemicals into the pile.
When not to use one
If you're only there for a weekend, a simple bucket-and-bag chemical toilet or a proper portaloo hire is far less hassle. If local regulation doesn't permit dry toilets or humanure composting on your land, don't try to work around it quietly; look at a certified self-contained composting toilet instead, which is designed to meet code.
What it cannot do
A home composting toilet cannot replace a certified septic or sewer connection for the purposes of planning permission or building regulations in most jurisdictions, and it cannot make raw humanure instantly safe. It also won't cope well with a household that refuses to keep up the covering and emptying routine; unlike a flush toilet, it needs an attentive owner.
Sources and further reading
- World Health Organization on safe sanitation: WHO drinking water
- US CDC on making water and waste handling safe: CDC
- General preparedness planning: ready.gov
Once your toilet is sorted, the same off-grid mindset applies to washing: see our guide to getting a genuinely hot shower from a solar shower bag for water you'll actually want to use after a day of camp chores. If you're setting up a static site more broadly, our sizing guide for 100W solar and a battery covers running a vent fan and lighting from the same small system.
Gear you need for this hack
Everything below does the job in this guide. Improvise where you can — buy where it matters.
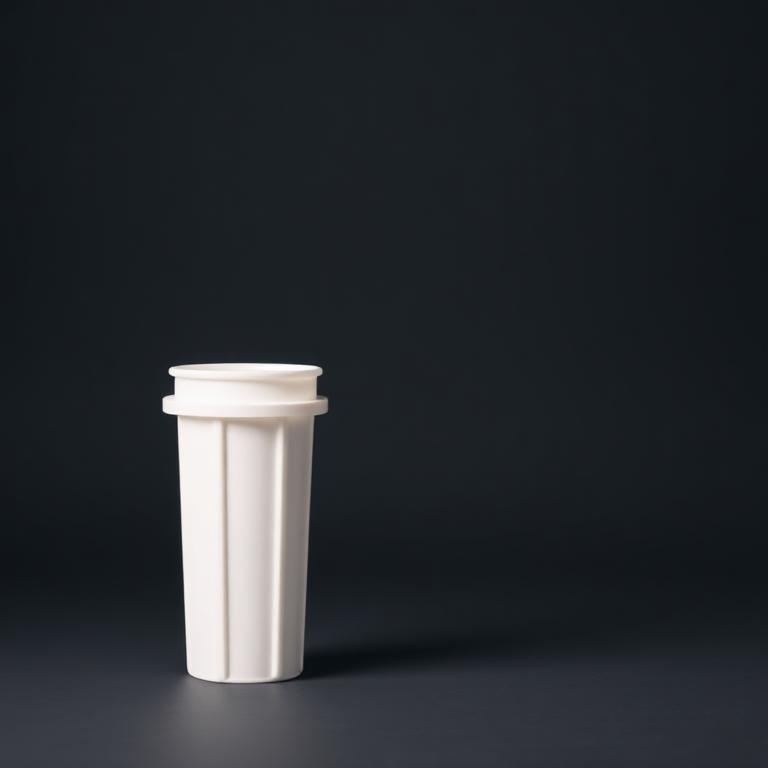
Composting Toilet Urine Diverter
Separating liquids is the whole trick.
Separating liquids from solids is the whole trick behind a toilet that does not smell.
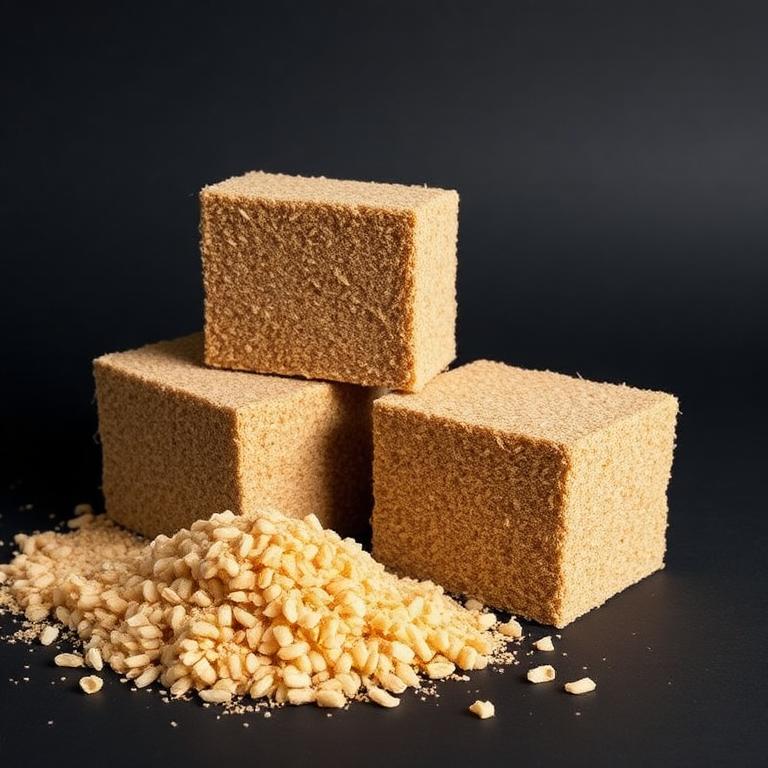
Coco Coir Bricks
The cover material that does the composting.
The cover material that turns a bucket toilet into a composting toilet.
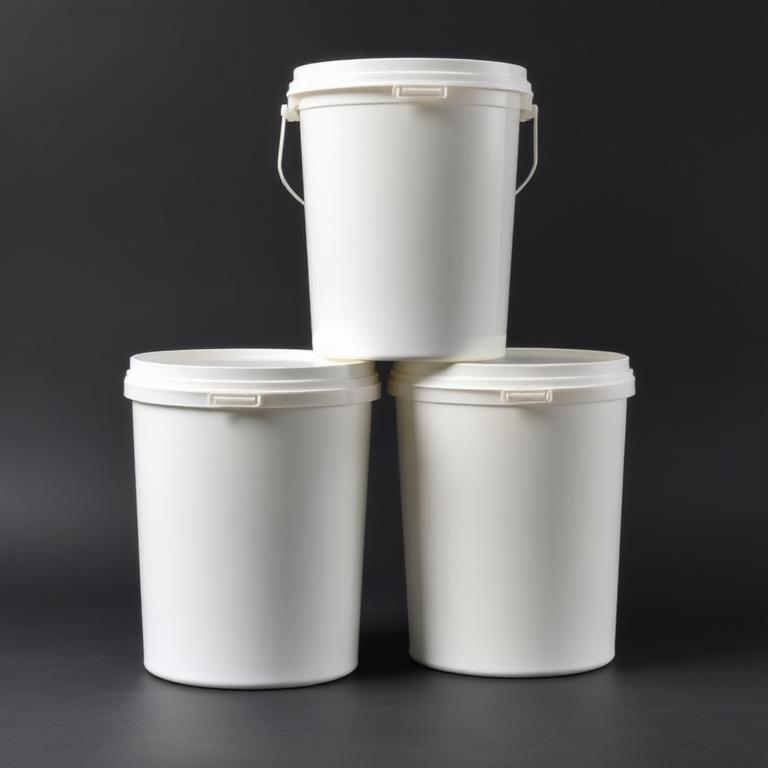
Food-Grade Buckets with Lids
The solids bucket.
20 litre food-safe buckets: the body of a gravity filter, a root cellar or a rain barrel.
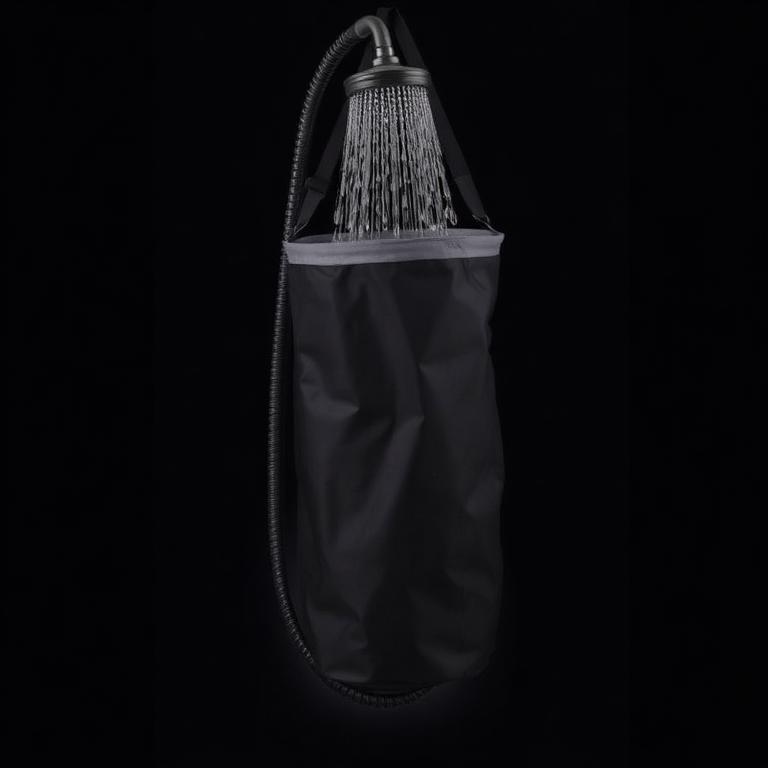
20L Solar Shower Bag
The other half of an off-grid bathroom.
Black PVC bag, four hours of sun, a genuinely hot shower off grid.
Some links are affiliate links: if you buy through them we earn a small commission at no extra cost to you. We don't run product tests, and a commission never decides what a guide recommends.
Rate this hack
Be the first to rate this hack
Share your experience
Have you tried this hack? Share your experience, results, tips or suggestions with other readers.
Community experiences
Loading…
More Off-Grid Living
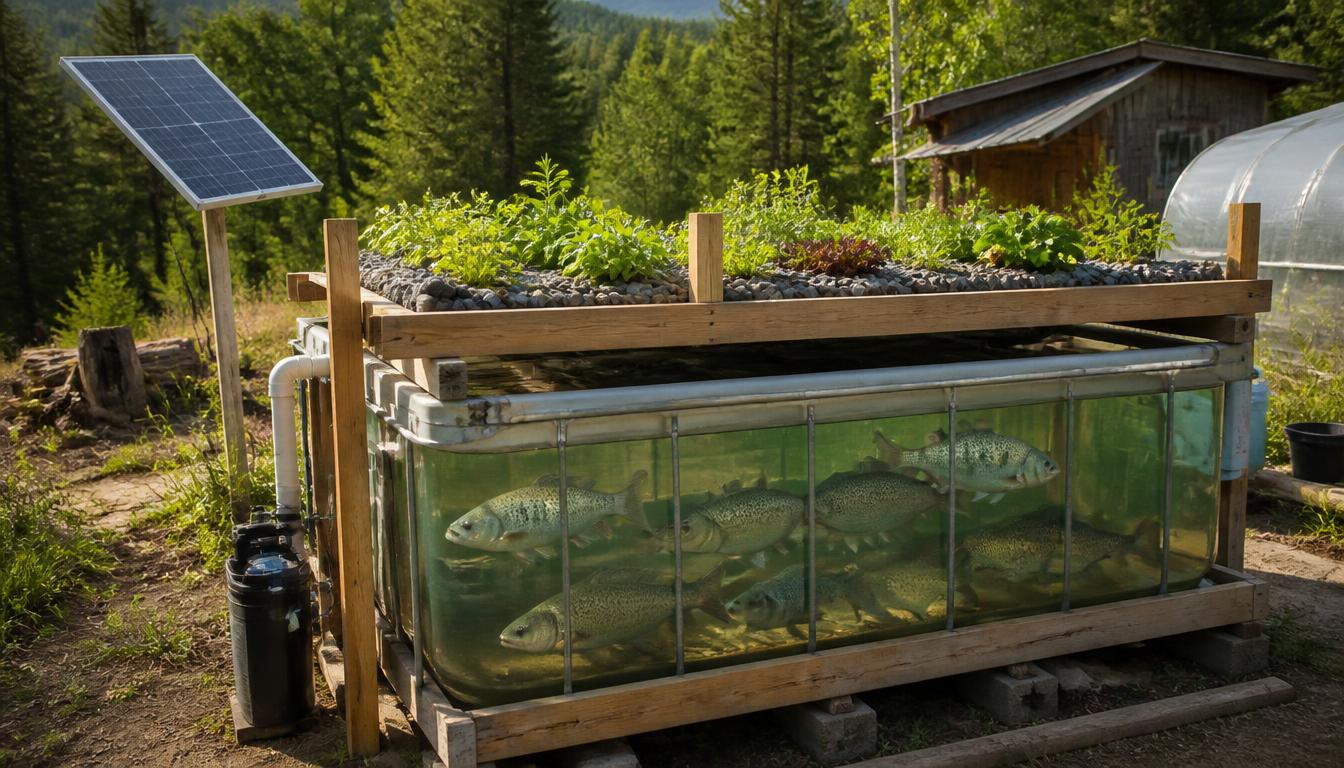
Set Up an Off-Grid Fish Tank That Actually Feeds You
Set up an off-grid fish tank: cycling a 300-litre tote, solar aeration, stocking density for tilapia, feeding, water changes and how to avoid killing your first batch.
8 min read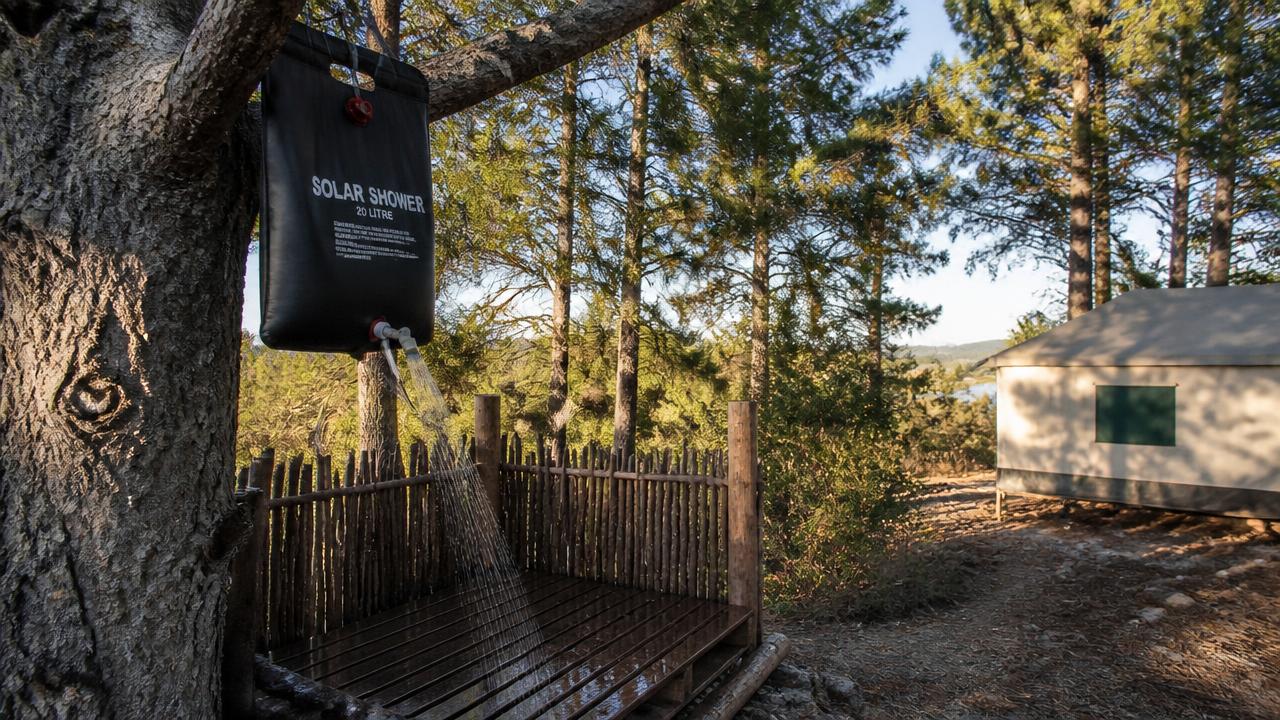
Get a Genuinely Hot Shower From a 20L Solar Shower Bag
Get genuinely hot water from a 20L solar shower bag: fill temperature, sun timing, insulation tricks and how to stretch 20 litres into a proper wash.
7 min read