
Sizing a 100W Solar Panel and Battery Properly
How to size a 100W solar panel and battery correctly: real daily watt-hours, sun-hour maths, depth of discharge and why most small solar setups fail.
How it works, step by step
Start with your actual daily watt-hours
Start with your actual daily watt-hours, not the panel's wattage
Start with your actual daily watt-hours, not the panel's wattage
Most small solar setups fail because people size around the panel rating instead of what they actually need to run each day. A "100W panel" is a headline number under ideal lab conditions — full sun, perfect angle, cool cell temperature. Real-world output is usually 60-80% of that at best. The number that actually matters is watt-hours: how much energy your devices draw over 24 hours, and how much the panel can realistically replace.
Quick facts
The watt-hour arithmetic you need
- 01
List every device and its running watts. A phone charger might draw 10W, a small fan 25W, an LED lantern 5W. Multiply watts by hours of use per day to get watt-hours per device — a 10W charger used for 3 hours is 30Wh.
- 01
Add up total daily watt-hours needed. Sum every device's daily Wh. A modest setup — phone, headlamp, small radio — might total 80-150Wh a day; a fridge or larger appliance can push that into the thousands.
- 01
Estimate realistic panel output using local sun-hours. Multiply the panel's rated wattage by your location's average "peak sun hours" (typically 3-5 hours a day in temperate climates, less in winter) and then by a derate factor of about 0.75 for angle, dust and heat losses. A 100W panel at 4 sun-hours and 0.75 derate gives roughly 300Wh a day, not 2,400Wh.
- 01
Size the battery to hold at least a day or two of use. A lithium battery should generally not be discharged below about 20% remaining to protect its lifespan, so a battery needs to hold your daily Wh requirement divided by roughly 0.8 usable depth of discharge, then doubled if you want a full day of cloudy-weather buffer.
- 01
Match the charge controller to the panel's voltage and current, not guesswork. An MPPT controller sized for the panel's open-circuit voltage and short-circuit current protects the battery from overcharging and the panel from mismatch losses; check the panel's specification plate rather than assuming.
- 01
Fuse both the panel-to-controller and controller-to-battery cable runs. A fuse or breaker sized just above the expected current on each leg protects against a wiring fault causing a fire, which matters more with lithium batteries than lead-acid.
Why the gap between rated and real output happens
Panel wattage is measured at Standard Test Conditions: a fixed light intensity, 25C cell temperature, and a precise sun angle. Real panels run hotter than 25C in direct sun, which lowers voltage and output, and are rarely aimed at the perfect angle all day. None of this means the panel is faulty — it just means the rated number is a ceiling, not an average.
Matching a battery to the panel
Pairing a 100W panel with a small battery wastes potential charging capacity on sunny days; pairing it with a battery too large means it may never fully charge on a cloudy run, which harms lithium battery longevity over time. As a rough guide, a battery of 100-200Wh capacity suits a single 100W panel used for phone charging and lighting, while running anything bigger needs either more panels or accepting slower recharge times.
Hard electrical safety limits
Never charge a lithium battery when its temperature is below freezing — this causes lithium plating and permanent capacity loss, and in worse cases a fire risk. Fuse every leg of the circuit rather than relying on the controller alone. Never connect a solar setup to household wiring or run it through an inverter into a domestic circuit unless you are a qualified electrician working to local code — this is a serious shock and fire hazard, not a DIY weekend job. If you're pairing solar with a generator for backup, never run a generator or any fuel-burning device indoors or in an enclosed space; carbon monoxide from generators kills quickly and without warning, as covered by heating one room safely when the power is out.
Common mistakes
Buying a panel based on wattage alone without checking sun-hours for the season you'll actually use it in is the biggest one — a 100W panel in a dim, short winter day might produce a third of its summer output. Undersizing the battery relative to daily need is the second, which leads to running batteries down further than is healthy for lithium cells.
What 100W solar can't do
It won't run continuous high-draw appliances like a fridge or power tools reliably from a single panel, and it won't recharge fast on overcast days regardless of the maths above — cloud cover can cut output by 50-90%. It's suited to phones, lights, radios and small electronics, not a full off-grid power replacement.
Sources and further reading
Basic outage and preparedness planning: ready.gov. For carbon monoxide risks around backup power equipment: US CDC carbon monoxide.
Gear you need for this hack
Everything below does the job in this guide. Improvise where you can — buy where it matters.
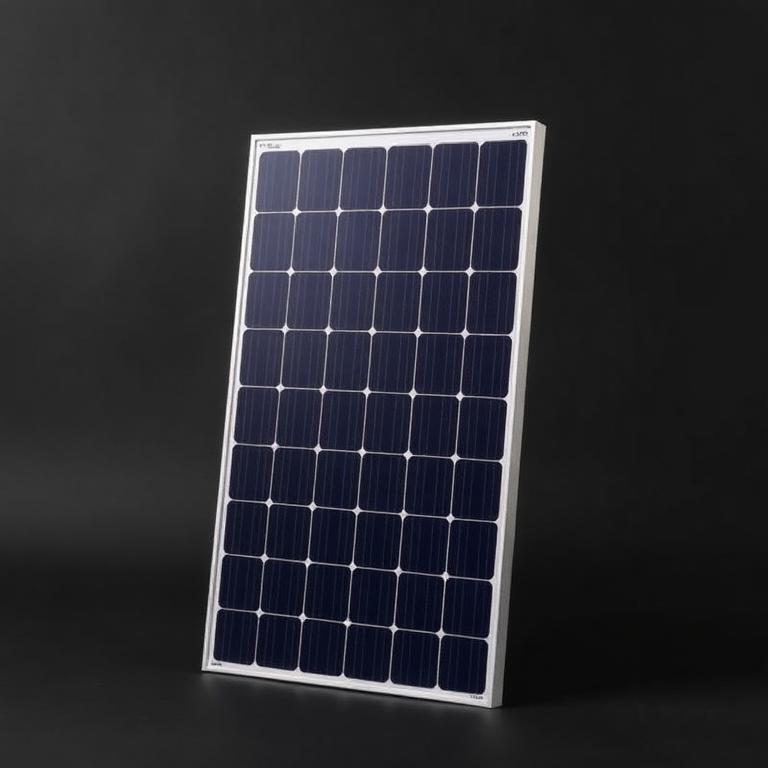
100W Monocrystalline Solar Panel
Renogy
The panel the maths in this article assumes.
The workhorse panel for a small off-grid system. Rigid, cheap per watt, 25-year life.
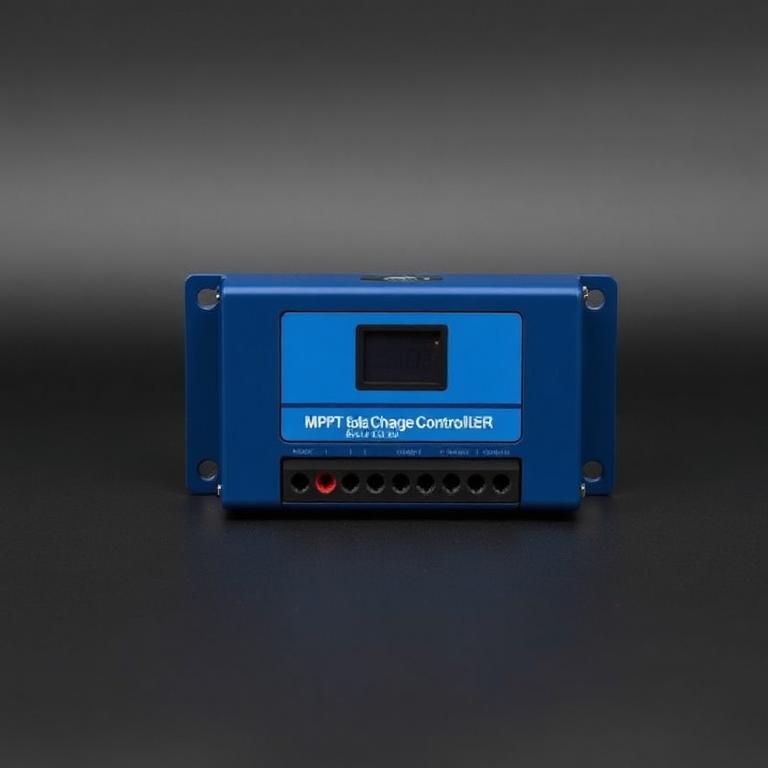
20A MPPT Charge Controller
Victron
20-30 percent more harvest than PWM.
Squeezes 20-30 percent more out of the same panel than a PWM controller in cold light.

100Ah LiFePO4 Battery
Deep cycling without wrecking the battery.
Thousands of cycles, safe chemistry, and it can be discharged deeply without damage.
Some links are affiliate links: if you buy through them we earn a small commission at no extra cost to you. We don't run product tests, and a commission never decides what a guide recommends.
Rate this hack
Be the first to rate this hack
Share your experience
Have you tried this hack? Share your experience, results, tips or suggestions with other readers.
Community experiences
Loading…
More Solar & Power

Keeping Powerbanks Alive in the Cold
Why powerbanks fail in the cold and how to fix it: lithium chemistry below freezing, body-heat storage, charging rules and choosing cells that cope.
7 min read
Why a Solar Radio With a Flashlight Beats Your Phone in a Blackout
Why a solar hand-crank emergency radio beats your phone in a blackout: NOAA and longwave broadcasts, infinite power, built-in light and how to set one up.
7 min read