
Set Up an Off-Grid Fish Tank That Actually Feeds You
Set up an off-grid fish tank: cycling a 300-litre tote, solar aeration, stocking density for tilapia, feeding, water changes and how to avoid killing your first batch.
Watch a video tip
Video tipA related video tip that shows the technique in motion. It won't match this guide step for step — use it for the hand positions and timing, and follow the 6 steps below for the actual build.
Set realistic expectations first
A backyard or garage off-grid fish tank is a genuinely useful skill and a decent way to produce some fresh protein, but it will not replace a food budget on its own. A single 300-litre tote stocked with tilapia, under home conditions without commercial feed and heating infrastructure, will typically yield a modest harvest over several months, not a steady supply. Treat this as a supplement and a good learning project, not a survival food plan.
This is worth setting up if you want a low-noise, low-space source of some fresh fish, you're happy to commit to weekly maintenance for months, and you have a warm space or climate to keep water temperature stable. It's the wrong project if you need food quickly, have no reliable power for aeration, or live somewhere that restricts keeping livestock or discharging tank water.
Quick facts
Setting up and cycling the tank
- 01
Choose a food-grade container of at least 200-300 litres. Smaller volumes swing in temperature and ammonia far faster, which kills fish before you notice a problem.
- 02
Fit aeration before you add anything living. An air pump and airstone, ideally solar-powered with a small battery buffer for overnight, keeps dissolved oxygen high enough to support both fish and the bacteria that clean the water.
- 03
Cycle the tank with an ammonia source for several weeks before adding fish. Add a small amount of fish food or pure ammonia and test daily; you're waiting for ammonia and nitrite spikes to fall to near zero as beneficial bacteria establish themselves, which typically takes four to six weeks.
- 04
Stock lightly to start. Even once cycled, add only a handful of fingerlings at first and watch water quality for a week before adding more; overstocking a new system is the single most common way to lose a whole batch.
- 05
Feed sparingly and test water weekly. Uneaten food is the main cause of ammonia spikes in an established tank, so feed only what fish clear in a few minutes and remove obvious leftovers.
- 06
Do partial water changes on a schedule. Replacing roughly 10-20% of the water every one to two weeks, using dechlorinated water at a matched temperature, keeps nitrate from building up between larger cleans.
Why it works
Fish waste produces ammonia, which is toxic even at low concentrations. Beneficial bacteria that colonise surfaces in the tank (media, pipework, gravel) convert ammonia to nitrite and then to less harmful nitrate, in what's called the nitrogen cycle. Aeration matters both for the fish's oxygen needs and because these bacteria are aerobic; without enough dissolved oxygen the whole system stalls and ammonia climbs.
Fish welfare
Fish are living animals and stress or poor water quality causes them real suffering, not just lost yield. Overcrowding, temperature swings, and ammonia or nitrite spikes are the main welfare failures in home setups. If you're not prepared to test water regularly and act on bad readings, this isn't a fair project to take on. Species choice matters too: tilapia are commonly chosen for their tolerance of variable conditions, but they still need water that's reliably warm, and cold snaps can kill an entire tank quickly if there's no backup heating.
Being honest about the food yield
A single well-run 300-litre tote, stocked at a sensible density and grown out over several months, will typically produce a small number of harvest-size fish at a time; this is a meaningful but modest amount of protein, closer to an occasional meal for a few people than a repeatable food source. Scaling up to something that meaningfully feeds a household year-round means multiple tanks, a proper feed supply and considerably more infrastructure and cost than a single beginner setup. Don't let this project replace planning for other food security measures.
Local rules and where to check
Keeping fish, especially non-native species like tilapia, is regulated in many places, and discharging tank water to open ground or drains can also be restricted. Check with your local agricultural or environmental authority before stocking anything, particularly regarding non-native species release, which is illegal in many regions even by accident through overflow or disposal.
Common mistakes
Adding fish before the tank has cycled is the most common failure and the fastest way to lose a whole batch overnight. Overfeeding, relying on a single point of aeration failure with no backup power, and ignoring a slow temperature drop overnight are the next most common.
When not to use this approach
If you need food within days or weeks, a fish tank won't help; look at other food security options such as six beginner-safe wild edibles or a bucket root cellar for near-term food storage instead. If you can't guarantee stable power for aeration, consider the risk to the animals before starting.
Common questions
Can I use tap water straight from the mains? Only after dechlorinating it; chlorine and chloramine in tap water will damage fish gills and kill the beneficial bacteria your cycle depends on.
Do I need a heater? In most temperate climates, yes, for tilapia and similar warm-water species; unheated systems in an unheated shed will struggle through a cold snap.
Powering the air pump reliably is the other half of this project; our guide to sizing a 100W solar setup and battery covers running small continuous loads like this overnight.
Gear you need for this hack
Everything below does the job in this guide. Improvise where you can — buy where it matters.
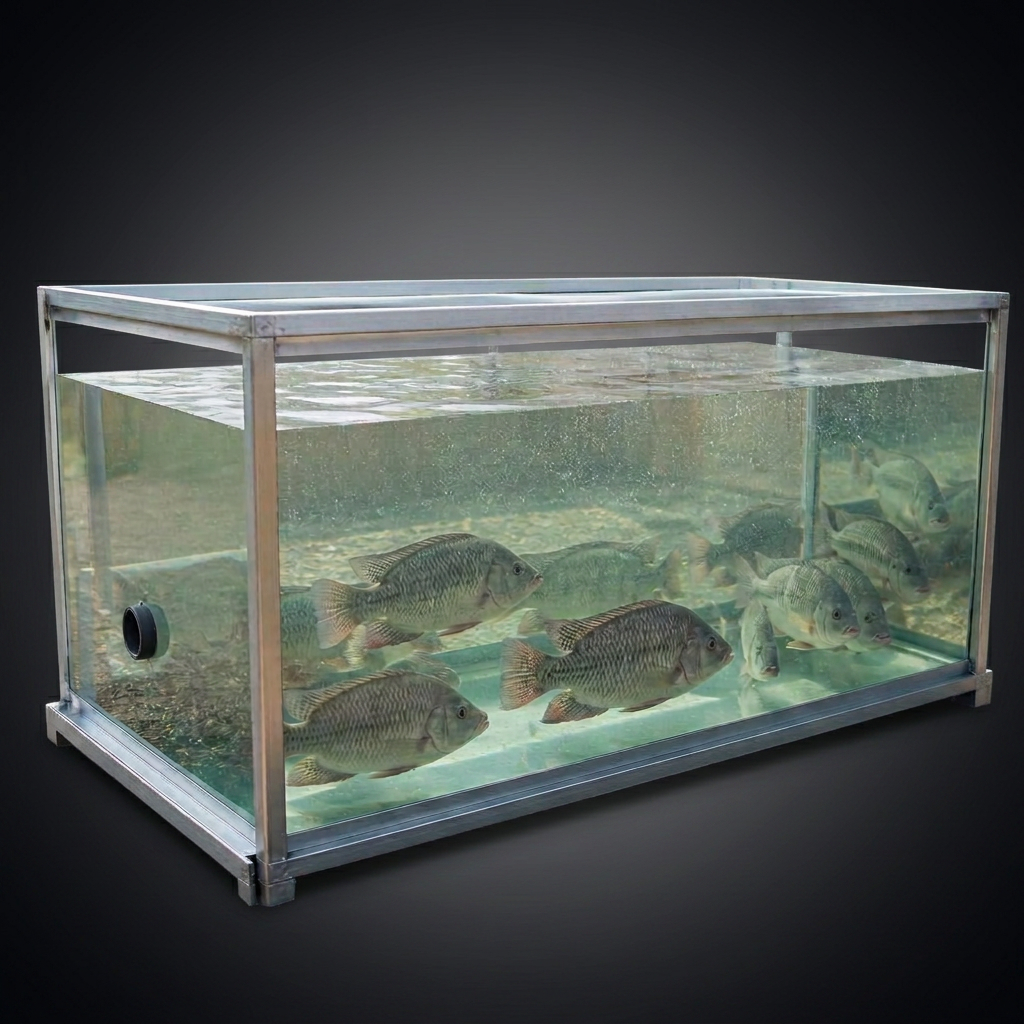
Food-grade IBC tote or stock tank
Generic
The tank itself — start small and clear so you can watch water quality and fish health daily.
Sturdy see-through tank for raising or holding fish — good starter vessel for a small off-grid aquaponics or fish-holding setup.
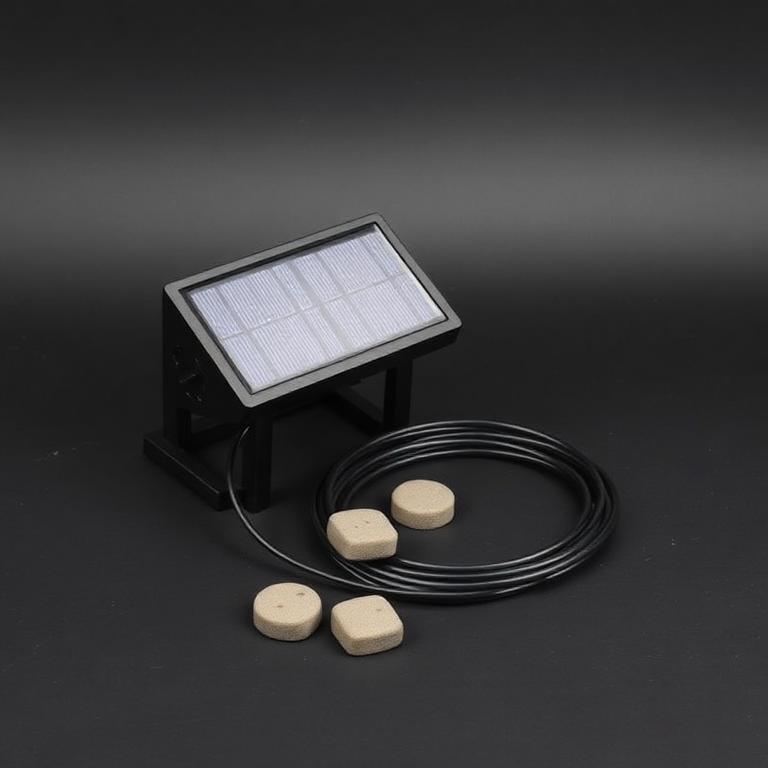
Solar Pond Air Pump Kit
Generic
Aeration is non-negotiable — this runs it straight off the sun.
Small 12V solar aeration kit with air stones — keeps oxygen up in a fish tank or tote without mains power.
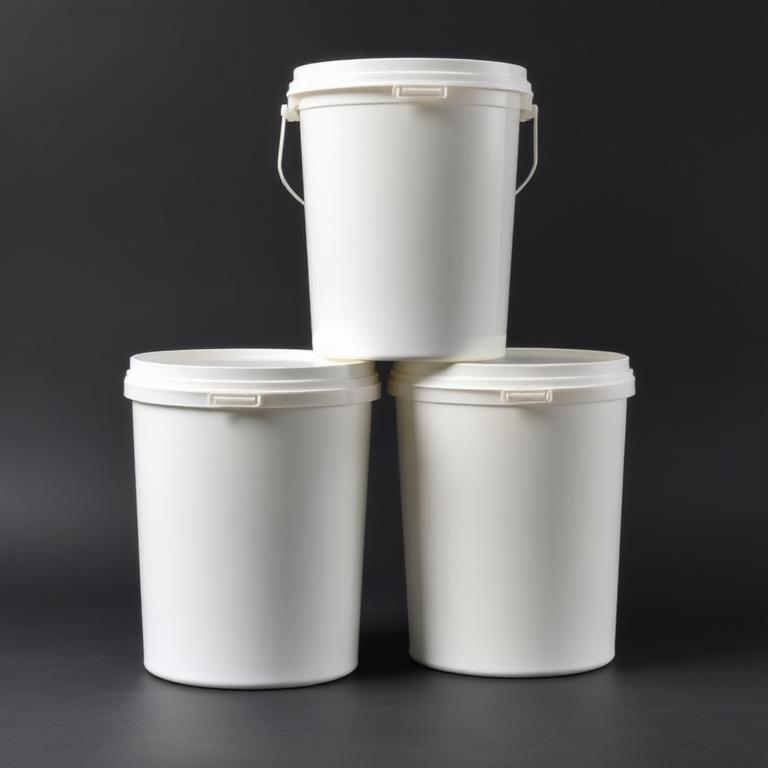
Food-Grade Buckets with Lids
Handy for water changes and mixing feed without contaminating the tank.
20 litre food-safe buckets: the body of a gravity filter, a root cellar or a rain barrel.
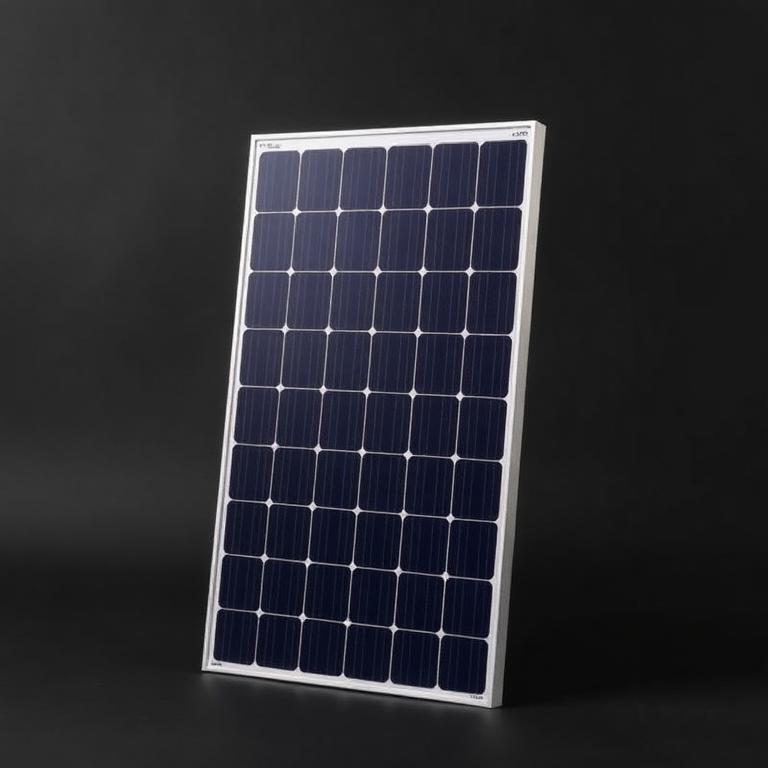
100W Monocrystalline Solar Panel
Renogy
Powers the pump and filter loop once the setup grows past a single tote.
The workhorse panel for a small off-grid system. Rigid, cheap per watt, 25-year life.
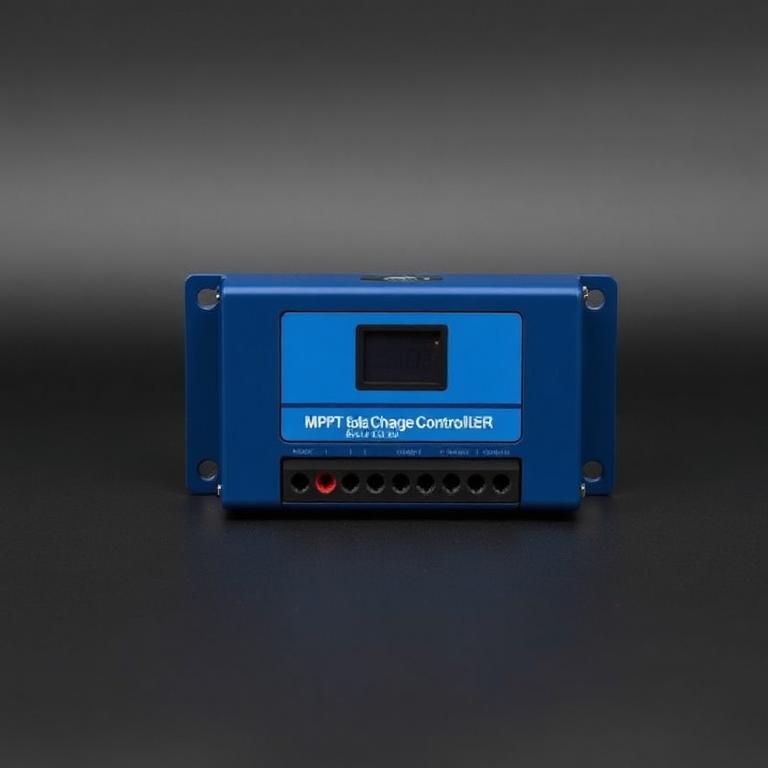
20A MPPT Charge Controller
Victron
Keeps the panel charging the pump battery efficiently through cloudy days.
Squeezes 20-30 percent more out of the same panel than a PWM controller in cold light.
Some links are affiliate links: if you buy through them we earn a small commission at no extra cost to you. We don't run product tests, and a commission never decides what a guide recommends.
Rate this hack
Be the first to rate this hack
Share your experience
Have you tried this hack? Share your experience, results, tips or suggestions with other readers.
Community experiences
Loading…
More Off-Grid Living
Build a Composting Toilet That Does Not Smell
How to build a composting toilet that does not smell: urine diversion, the right carbon cover material, ventilation and a safe composting cycle.
8 min read
Get a Genuinely Hot Shower From a 20L Solar Shower Bag
Get genuinely hot water from a 20L solar shower bag: fill temperature, sun timing, insulation tricks and how to stretch 20 litres into a proper wash.
7 min read