Build a Tin-Can Rocket Stove in 20 Minutes
Build a tin-can rocket stove in 20 minutes: a fuel-efficient DIY camp stove that boils a litre of water on a handful of twigs, with cutting and airflow details.
Watch a video tip
Video tipA related video tip that shows the technique in motion. It won't match this guide step for step — use it for the hand positions and timing, and follow the 6 steps below for the actual build.
What a rocket stove actually does
A rocket stove forces air through an L-shaped or J-shaped combustion chamber so a small amount of twig-sized fuel burns hot and nearly completely, instead of smouldering the way an open fire on the same fuel would. The insulated chamber holds heat where combustion happens rather than losing it to the surrounding air, which is why a handful of dry twigs can boil water that would barely warm on an open fire.
This is an outdoor cooking tool. Like any solid-fuel stove it produces carbon monoxide and must never be run inside a tent, vehicle or unventilated room.
Quick facts
Building it
- 01
Cut the base can to take the fuel feed. Mark and cut a rectangular hole near the bottom edge of the larger can, sized to the width of the twigs you plan to burn — this becomes the horizontal fuel tunnel.
- 02
Cut a matching hole in the side of the smaller can or inner tube. This forms the elbow where the horizontal fuel tunnel meets the vertical combustion chimney; the two holes need to line up so air and flame can pass between them.
- 03
Assemble the L-shape inside the outer can. Fit the inner chimney upright inside the larger can with the elbow connecting to the fuel tunnel hole, leaving a gap of a couple of centimetres all round between inner and outer cans.
- 04
Pack the gap with dry insulation. Ash, dry sand or fine dry soil packed into the gap between inner and outer cans keeps the heat concentrated in the chimney rather than radiating outward, which is most of what makes a rocket stove efficient.
- 05
Punch airflow holes in the base of the outer can. A few holes drilled or punched in the bottom let air feed the fire from below, improving the draw up through the chimney.
- 06
Test-fire with pencil-thin dry twigs before cooking anything. Feed fuel in gradually through the horizontal tunnel and watch the draw — a well-built stove pulls flame visibly up into the chimney within a minute or two.
Why it burns so efficiently
The narrow chimney creates a strong updraught that pulls air in through the horizontal fuel tunnel, so combustion gets a steady, forced air supply rather than the sluggish airflow of an open fire. The insulated outer layer keeps the burning zone hot enough that even the smoke re-ignites, which is why a well-running rocket stove produces very little visible smoke once it's up to temperature.
Common mistakes
Using fuel that's too thick — this stove is built for twig-sized wood, not logs, and oversized fuel chokes the airflow. Skipping the insulation layer, which lets heat escape sideways instead of concentrating in the chimney and roughly halves the efficiency gain. And building the elbow joint loosely so smoke leaks out at the base instead of drawing up the chimney.
Safety limits
Carbon monoxide builds up fast in any enclosed space with a solid-fuel fire, rocket stoves included — always use this outdoors or in a genuinely well-ventilated space, never in a tent or vehicle. The outer can gets hot enough to burn skin on contact, so keep gloves handy and site the stove on bare ground or stone, not anything flammable.
For a version of this problem solved without an open flame at all, cooking indoors without power covers safer indoor options, and pairing this stove with dry fuel gathered using the method in one-match fire in wet weather covers you when everything outside is soaked.
Sources and further reading
US CDC carbon monoxide safety (https://www.cdc.gov/carbon-monoxide/about/index.html), NFPA fire safety resources (https://www.nfpa.org/).
Gear you need for this hack
Everything below does the job in this guide. Improvise where you can — buy where it matters.
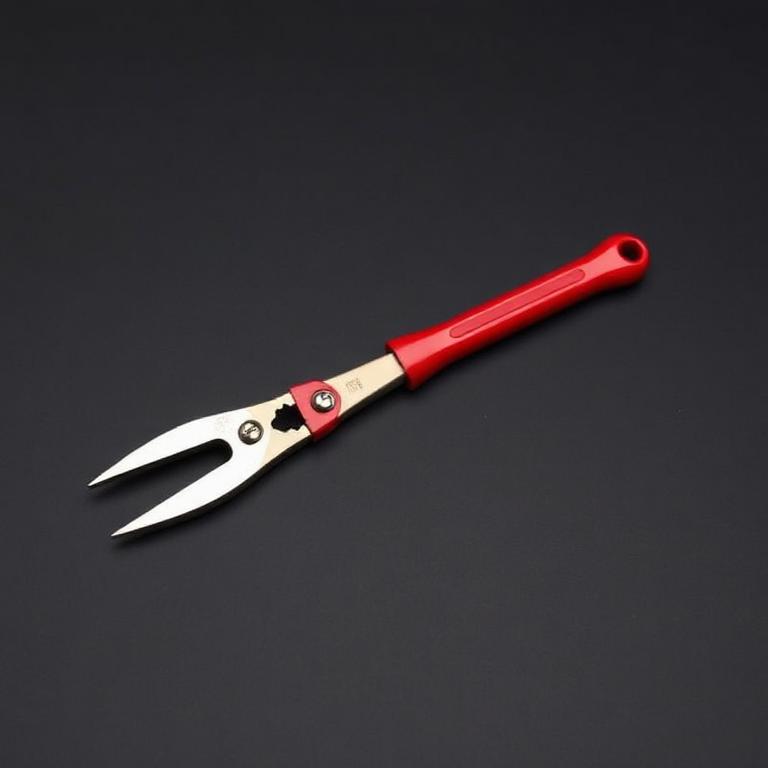
Aviation Tin Snips
The one tool this build actually requires.
Cuts clean can openings without shredding your hands. Needed for the rocket stove.
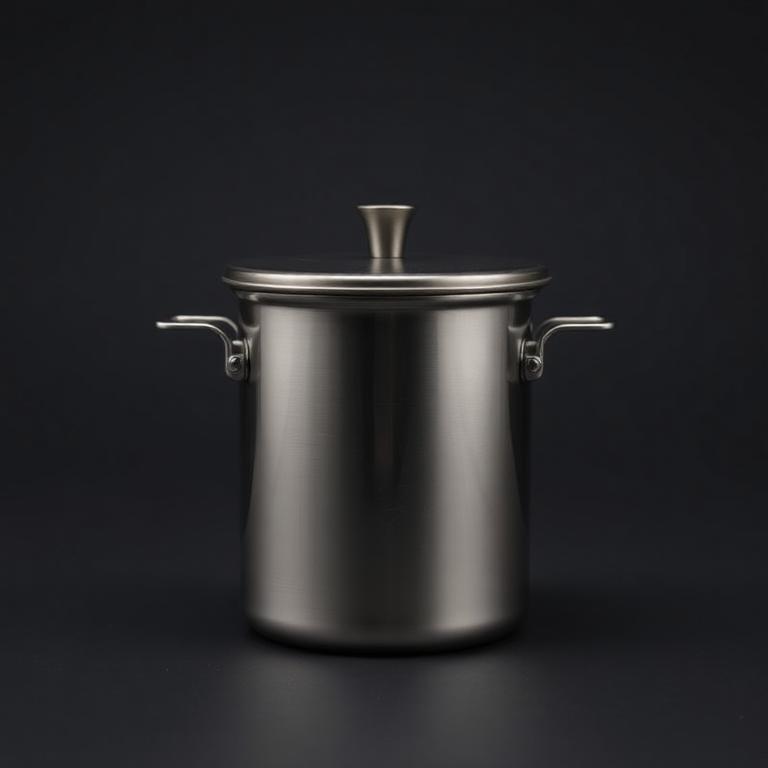
Titanium 750ml Pot
Sits stable on the stove top and takes direct flame.
Light enough to always carry, tough enough to sit straight in the coals.
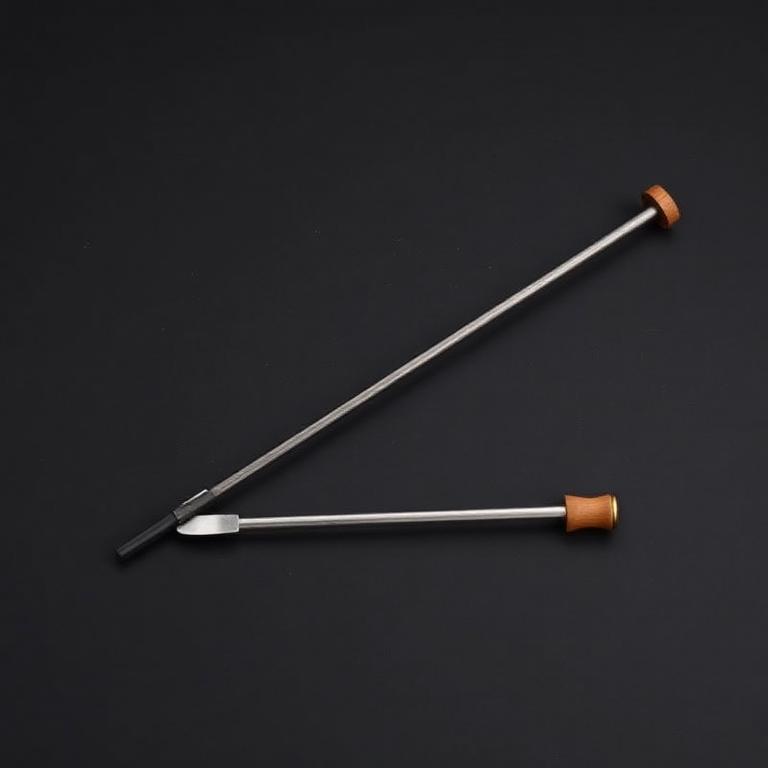
Ferrocerium Rod with Striker
Lights the stove without fuel or lighters.
Works soaked, frozen and windy. The one fire tool that does not run out or leak.
Some links are affiliate links: if you buy through them we earn a small commission at no extra cost to you. We don't run product tests, and a commission never decides what a guide recommends.
Rate this hack
Be the first to rate this hack
Share your experience
Have you tried this hack? Share your experience, results, tips or suggestions with other readers.
Community experiences
Loading…
More Fire & Cooking
One-Match Fire in Wet Weather
How to light a one-match fire in the rain: where to find dry wood after days of rain, how to build a feather-stick tinder bundle and keep the flame alive.
7 min read
Five Fast Wild Food Recipes You Can Cook Anywhere
Five fast wild food recipes for camp: nettle soup, pan trout, dandelion salad, wild mushroom fry and bannock — each under 20 minutes with one pot and one knife.
8 min read