DIY Three-Stage Gravity Water Filter
Build a DIY three-stage gravity water filter from buckets: sediment, activated carbon and a hollow-fibre element, plus when chemical purification is still required.
Watch a video tip
Video tipA related video tip that shows the technique in motion. It won't match this guide step for step — use it for the hand positions and timing, and follow the 6 steps below for the actual build.
Quick facts
The one thing to understand before you build this
An improvised sand-and-charcoal gravity filter removes turbidity, sediment, some organic matter and unpleasant taste and smell. It does not reliably remove bacteria, viruses or parasite cysts on its own. If you build this filter and stop there, you have clearer water, not necessarily safe water. Disinfection - boiling or a chemical treatment - is still required afterwards for anything you intend to drink. That is not a caveat tucked at the end; it's the central fact this whole build sits around.
When to build one
This is worth setting up when your water source is visibly dirty - a stream loaded with silt, a rain barrel with leaves and grit in it - and you're relying on it for more than a day or two, such as during a prolonged winter storm power outage or as a backstop in a 72-hour emergency plan. It's not worth the effort for a single glass of water; boiling alone is faster.
Building the three stages
- 01
Drill or melt drainage holes in the base of each bucket. Several small holes spread across the base let water pass through slowly without the layers above collapsing into them.
- 02
Build the first bucket as coarse sediment removal. Layer gravel at the bottom, then coarser sand above it, so the largest particles and floating debris are caught before water reaches the next stage.
- 03
Build the second bucket around activated carbon. Sandwich a layer of activated carbon between two layers of fine sand; this stage is what pulls out taste, odour and some dissolved organics as water percolates through.
- 04
Stack the buckets so each drains into the one below. Support them on a frame, crate stack or ledge so gravity alone does the work and you're not lifting or pouring between stages.
- 05
Add a hollow-fibre element as the final physical barrier if you have one. A hollow-fibre filter (the kind used in commercial backpacking filters) has pores small enough to physically strain out bacteria and protozoa, and it's the closest an improvised setup gets to genuine pathogen removal.
- 06
Disinfect everything that comes out the bottom. Boil for at least one minute or dose with a chemical treatment before drinking, regardless of how clear the water looks.
Why the layers work
Sand and gravel work by straining out particles by size and by adsorbing some material onto the surface of the grains as water trickles past slowly - the slower the flow, the better the contact time and the cleaner the output. Activated carbon has an enormous internal surface area that binds organic compounds responsible for taste and smell. None of this depends on temperature or chemistry that kills microorganisms; it's purely mechanical and adsorptive, which is exactly why it can't be relied on for microbiological safety.
What a hollow-fibre stage adds
Genuine hollow-fibre membrane elements (as used in most commercial gravity and squeeze filters) have pore sizes fine enough to block bacteria and protozoan cysts, which sand cannot reliably do. If you can build the sand/carbon stages around a proper filter cartridge rather than improvising the whole thing, you get much closer to safe output - but even then, most consumer hollow-fibre filters do not claim to remove viruses, so disinfection remains the sensible final step, especially with surface water of unknown origin.
Common mistakes
Skipping disinfection because the water "looks clean" is the single most dangerous mistake with this build - clarity and microbiological safety are different things. Using beach sand or unwashed builder's sand introduces its own contamination and fine silt that clogs the filter within days. Letting flow run too fast, by drilling oversized holes, cuts contact time and lets more pass through unfiltered. Not replacing the carbon layer regularly also lets it become saturated and stop working.
Alternatives
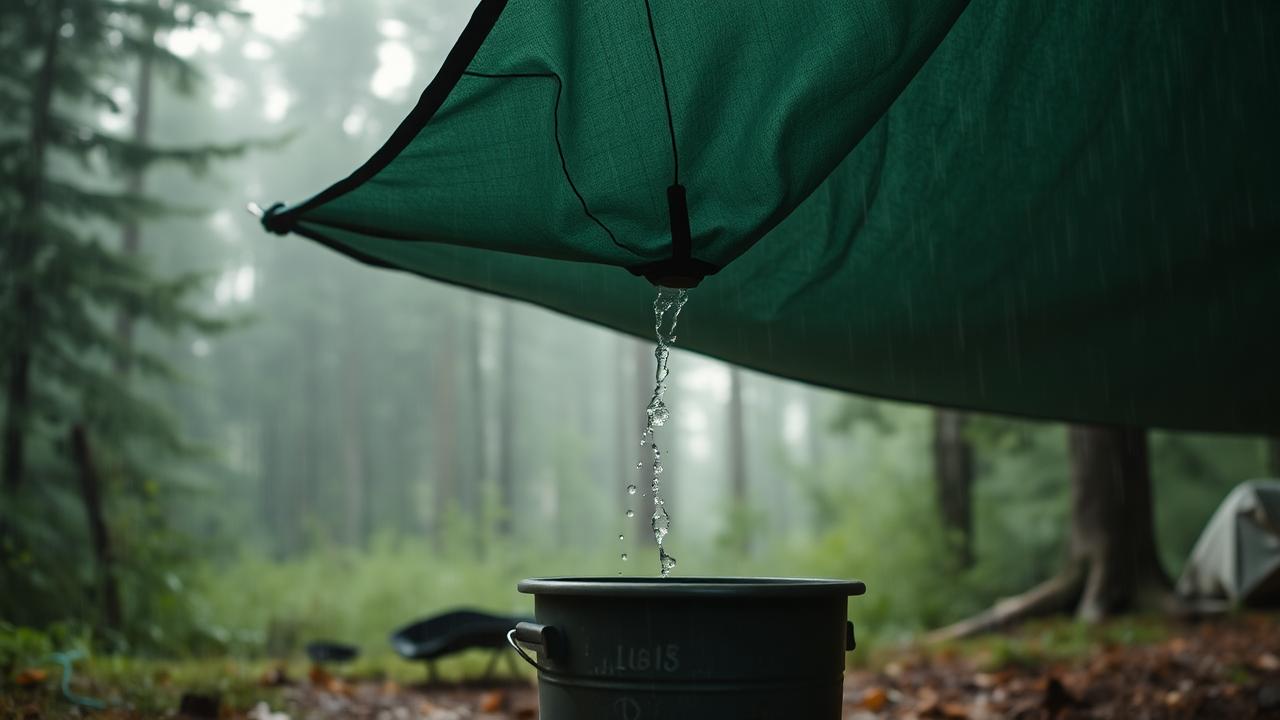
If you don't have carbon or the right sand, a two-stage sediment filter followed by a longer boil is a reasonable fallback - it won't taste as good but the safety step still holds. For situations where boiling fuel is scarce, chemical disinfection (chlorine dioxide or iodine tablets) is a lighter-weight option; see emergency water purification for how to choose between them. Pairing this filter with tarp rainwater catchment gives you both a supply and a treatment path.
Sources and further reading
- US CDC, making water safe in an emergency: https://www.cdc.gov/healthywater/emergency/making-water-safe.html
- WHO, drinking water: https://www.who.int/health-topics/drinking-water
- ready.gov, water: https://www.ready.gov/
Gear you need for this hack
Everything below does the job in this guide. Improvise where you can — buy where it matters.
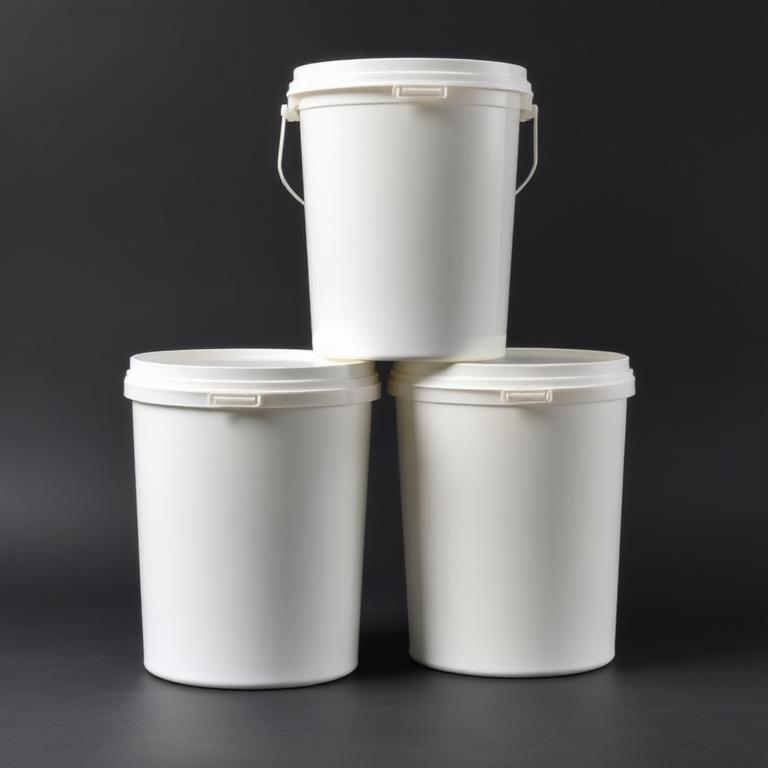
Food-Grade Buckets with Lids
The body of the filter.
20 litre food-safe buckets: the body of a gravity filter, a root cellar or a rain barrel.
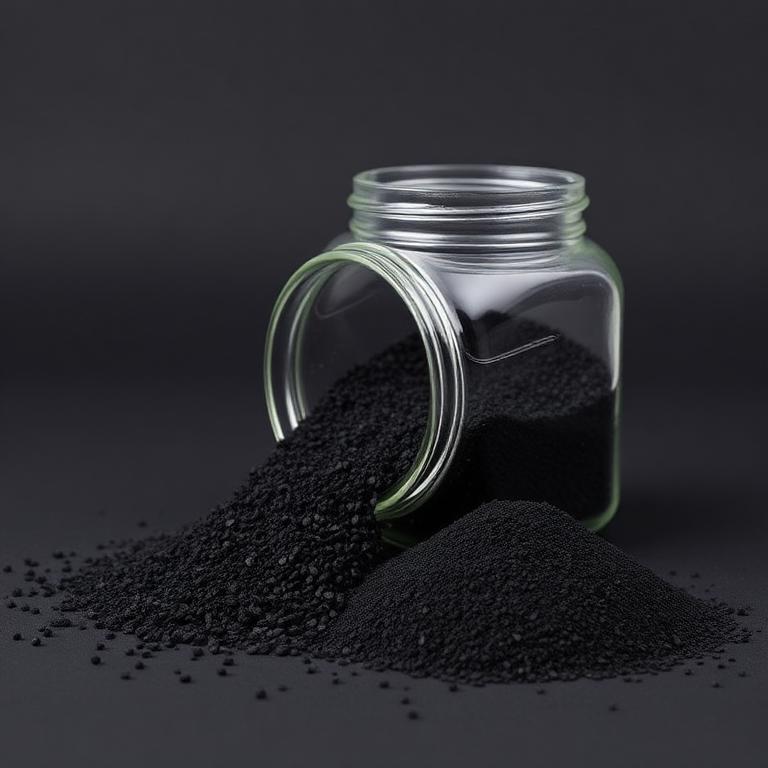
Activated Carbon (granular)
Final stage: taste, odour and chemicals.
Removes taste, odour and many chemicals in the final stage of a DIY filter.
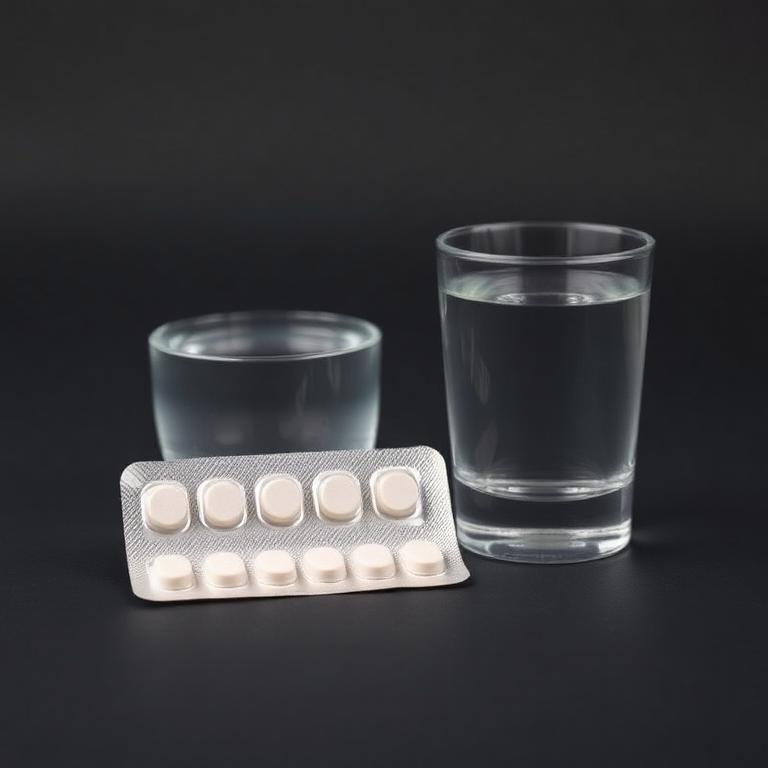
Aquatabs Purification Tablets
Aquatabs
A DIY filter does not kill viruses. This does.
Kills what a DIY filter cannot. Cheap, tiny, and the correct backup to any homemade setup.
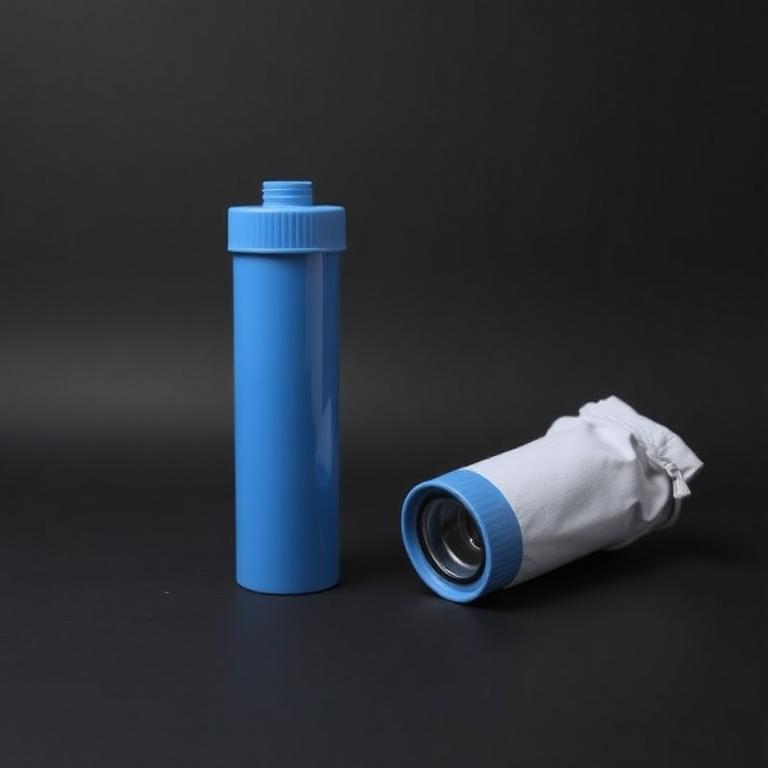
Sawyer Squeeze Water Filter
Sawyer
If you would rather buy the proven version.
0.1 micron hollow-fibre filter rated for 100,000 litres. Backflush it and it lasts for years.
Some links are affiliate links: if you buy through them we earn a small commission at no extra cost to you. We don't run product tests, and a commission never decides what a guide recommends.
Rate this hack
Be the first to rate this hack
Share your experience
Have you tried this hack? Share your experience, results, tips or suggestions with other readers.
Community experiences
Loading…